Recording a 2006 car nav boot animation with an oscilloscope
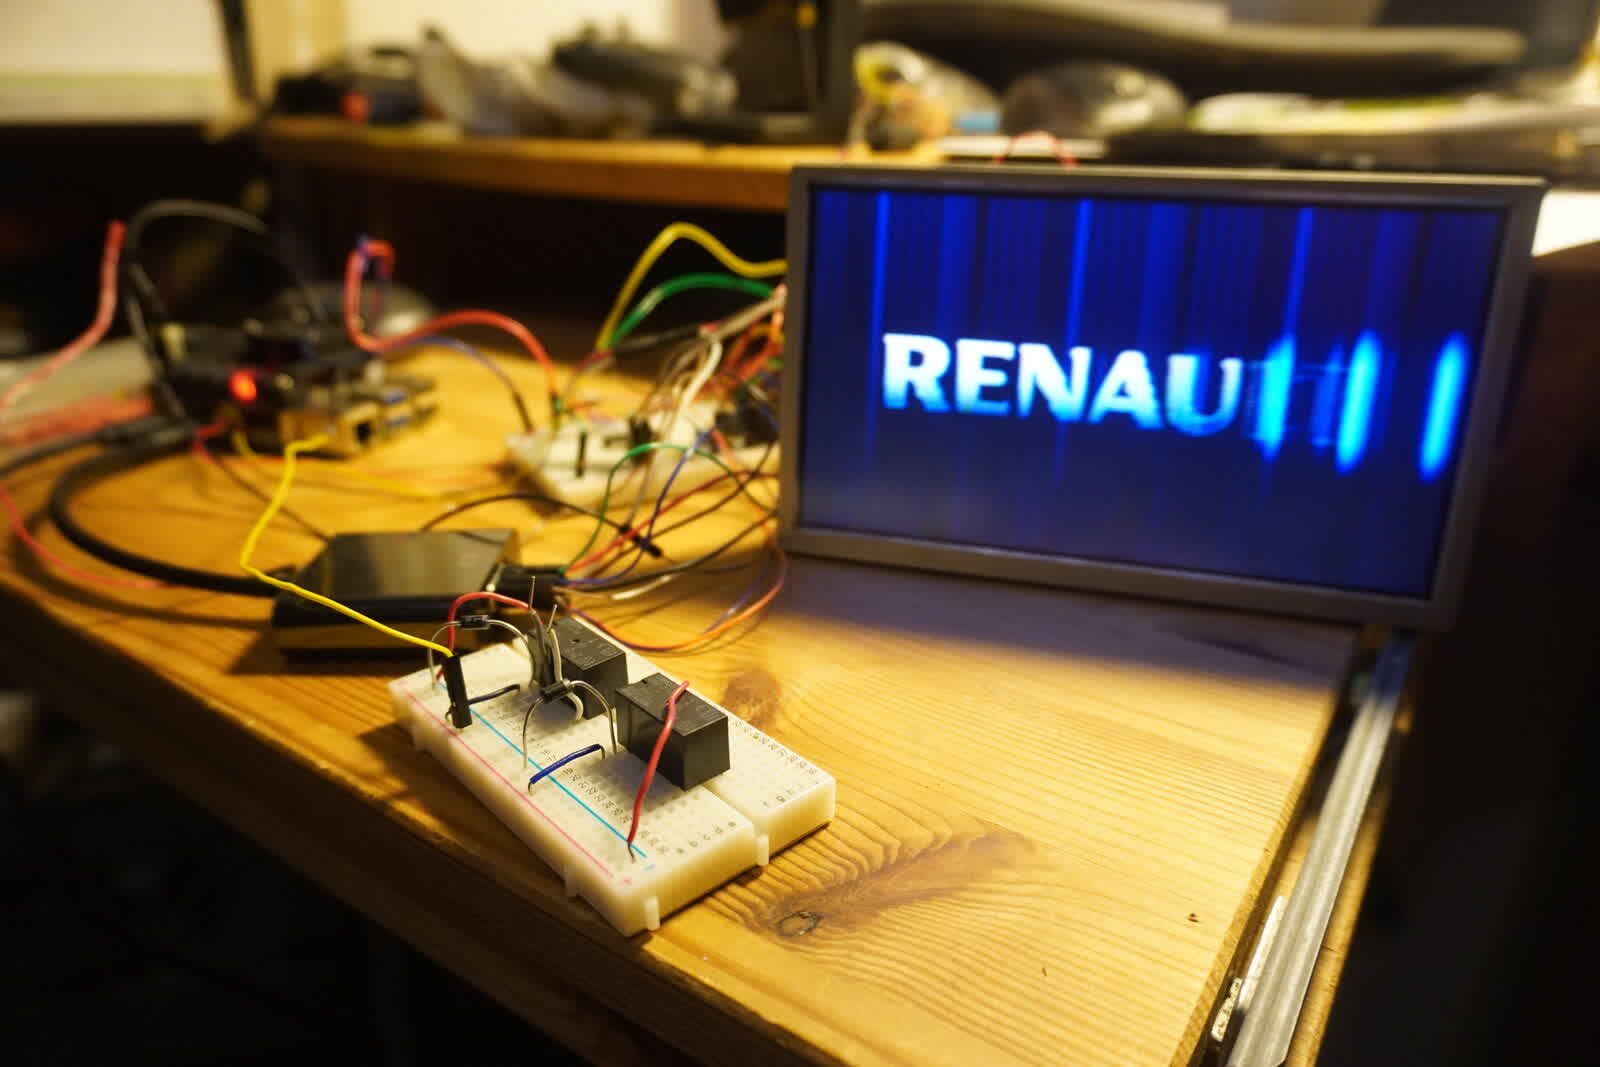
I’m replacing the Carminat navigation unit of my Renault Espace IV (2006) with a Raspberry Pi 5. It’s a retrofit: the idea is to keep every original bit I can, the radio, the CD changer, the dashboard screen and its keypad, and only modernize what shows up on the screen, with Android Auto instead of 2006 maps on a CD. The whole project deserves another article and right now the Raspberry Pi connects to the screen on my bench. I would have loved to keep the boot animation of the stock navigation sysyem, light streaks drawing the RENAULT logo. I’m writing this up as I captured the animation using my oscilloscope, which is quite unconventional.
The result: 258 frames at 59.5 fps, straight from the nav’s video signal.
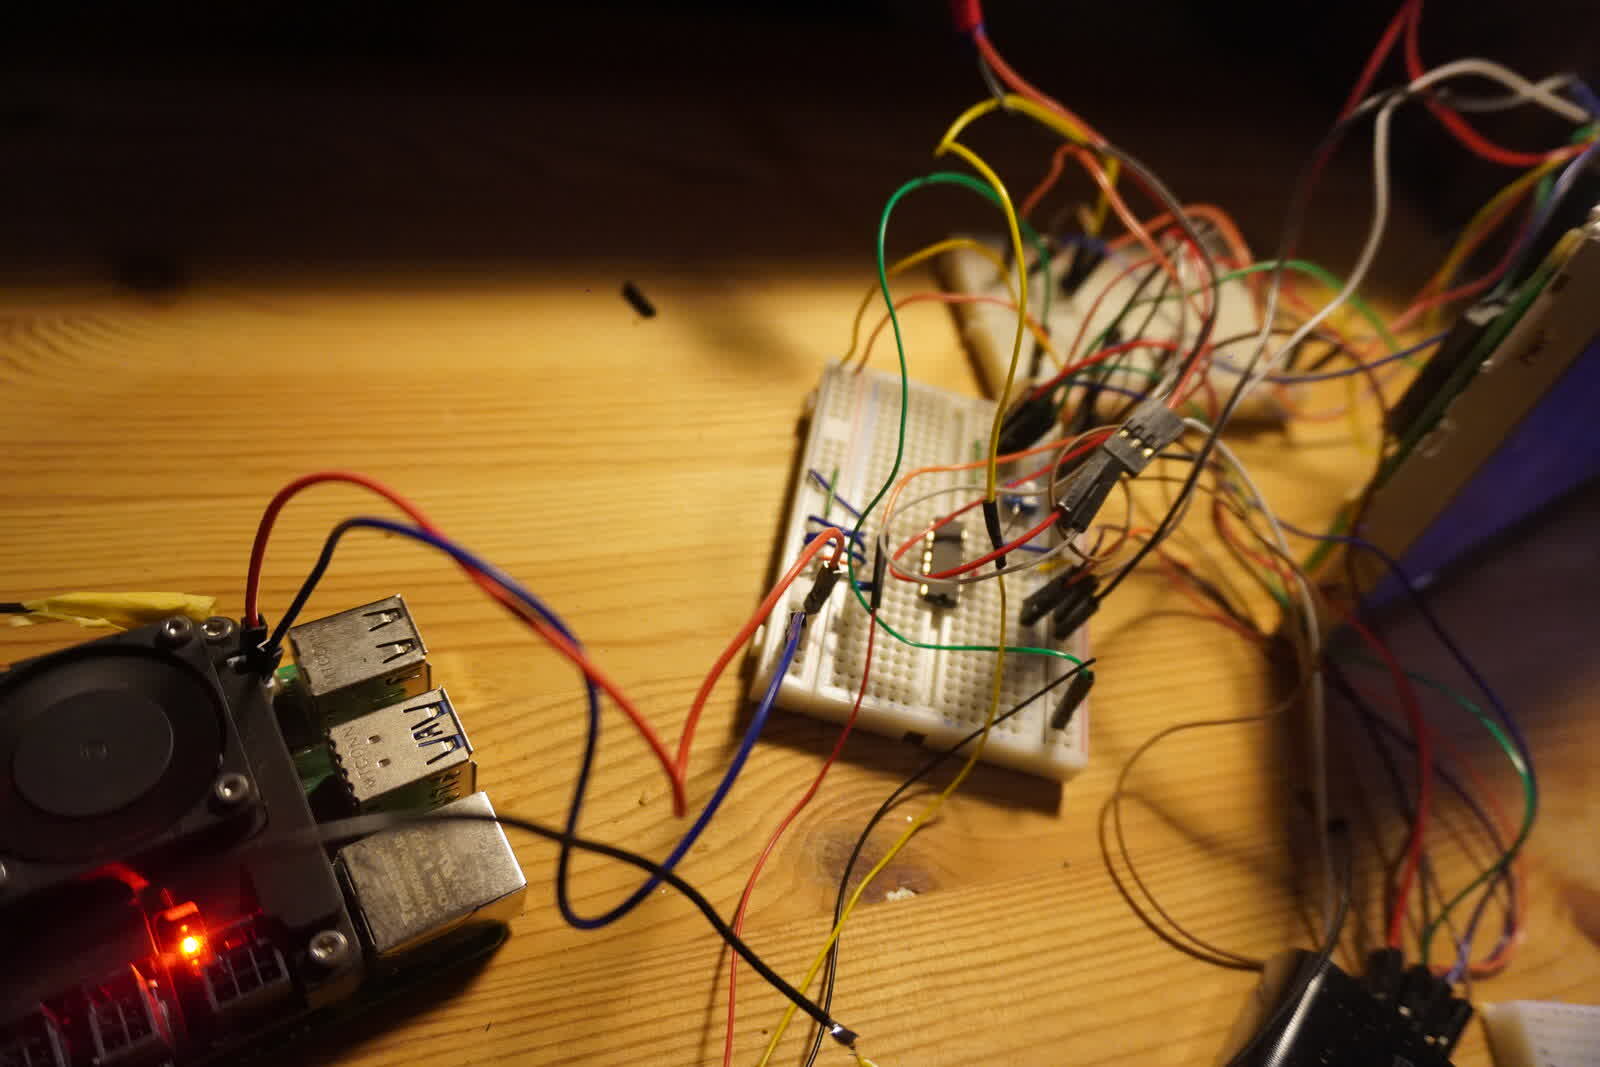
From signal to pixels#
The screen isn’t VGA, and although I could have bought a GBS8100 to convert the signal and a capture card to record it, I wanted to use what I already had on hand. The nav sends analog RGB like an old arcade board: three wires, one per color, where the voltage is the brightness of the pixel being drawn at that instant. The image is drawn line by line, left to right, top to bottom. To tell the screen where a line starts, the green wire drops for 4.7 µs to a voltage lower than black, a level no pixel ever uses, so the screen can’t mistake it for the picture. A group of longer drops marks the start of a new frame. That’s “sync on green”.
An oscilloscope records a voltage over time, so it records exactly that. Put one probe on each color, and an image is only a matter of cutting the trace at every dip of the green channel and stacking the pieces:
- a line lasts 63.9 µs, of which 52 µs are visible
- a frame is 263 lines (240 visible), so 16.8 ms, 59.5 frames per second
- the nav renders 432 pixels per line, so a pixel lasts about 120 ns
The last number is the one that hurts. The scope doesn’t know about pixels, it takes a sample every so often, and what matters is how many samples land in the visible part of a line: the points per active line. With 432 points or more you get every pixel, with less the image gets softer.
What it asks from the scope#
My scope is a Rigol DHO804. Its memory holds at most 5 million points per channel with all its channels on, and memory is sample rate times duration, so I have to choose between sharp and long:
| Time base | Window | Frames | Points per active line |
|---|---|---|---|
| 2 ms/div | 32 ms | 1 | 1600 |
| 0.05 s/div | 0.8 s | ~47 | 325 |
| 0.1 s/div | 2 s | 118 | 130 |
For a still screen that’s easy, the first setting in the table is plenty. The animation is another story: it lasts about 3 seconds, and no setting captures all of it at a decent resolution. At 325 points for 432 pixels the image is a bit soft but good enough. So the plan was to boot the nav several times, record a 0.8 s burst a little later each time, then stitch the bursts back together.
The rest of the setup follows from the signal. I put one probe each on red, green and blue at the back of the screen connector, at 0.2 V per division, since the signal goes from 0.1 V at the bottom of a sync drop to about 1.1 V for white. The trigger is on the falling edge of the green, so it fires on the very first line the nav sends.
Talking to the scope#
Thankfully, the scope listens on the network and speaks SCPI: you send one text command per line and get text answers back, so a plain Python socket is enough. I used the Ethernet port, since over USB the connection was much less stable.
On a waveform, the samples come back as raw bytes, one per point, behind a # header, one digit giving how many digits the length has, the length, then the bytes:
def _lan_block(cmd):
    _lan_w(cmd)
    if _readn(1) != b"#":
        raise ValueError("bloc IEEE 488.2 attendu")
    ndigits = int(_readn(1))
    length = int(_readn(ndigits))
    data = _readn(length)
    _readn(1)
    return data
It won’t give 5 million points in one answer, so grab.py pulls the raw memory in slices of 250 000 points, channel by channel, and reads a slice again when it comes back shorter than asked (it may happen and without any error):
for s0 in range(1, n + 1, CHUNK):
    parts.append(np.frombuffer(_chunk(s0, min(n, s0 + CHUNK - 1)), dtype=np.uint8))
One byte per point, 15 MB for the three channels in about 6 seconds, saved in a .npz with the scale factors to convert bytes back to volts.
Bursts#
burst.py drives a whole series, one boot per burst. For each boot it arms the scope with the ignition off, checks for 3 seconds that nothing fires on noise, then beeps and asks me to hit the start button. The first trigger is the nav’s first video line, that’s t0. From there:
t0 = time.time()
for c in SYNC_CFG:
    grab.w(c)
time.sleep(rearm_wait(shift, time.time() - t0))
t_rearm = time.time() - t0
grab.w(":SING")
wait_acquired(grab.q)
grab.grab(tmp)
The scope has a delay setting that should do this, but it’s capped at about 70 ms and I needed up to 6.4 s. So the laptop sleeps and rearms the scope itself, which is precise to about 0.1 ms, way below a frame. Each burst is saved with its t_rearm, and running the same command again resumes at the first missing burst.
From .npz to image#
A burst is just three long lists of voltages, so frames.py cuts them at the sync drops of the green channel as explained above. The tricky part is that the scope samples don’t fall exactly on the start of a line. I place each falling edge between two samples by interpolation, it’s still a bit noisy but the nav’s line clock is very stable, so a straight line fitted on the edges of a frame gives me the start of every line, even the ones where I lost the edge.
Then I resample each line on a fixed grid, 432 points between 9 and 61 µs after the sync (the visible part). Note that I measure the black level on every line, in the blank right after the sync, and subtract it, that’s what the screen does too, it takes this blank as its black:
xs = (x0_us + span_us * np.arange(width) / width) * 1e-6 / dt
for c, ch in enumerate(chans):
    # black level of each line, between 5.5 and 7 µs after the sync
    blk = np.array([np.median(ch[int(s) + b0 : int(s) + b1]) for s in pos])
    v = np.interp((pos[:, None] + xs[None, :]).ravel(), grid, ch).reshape(len(pos), width)
    img[:, :, c] = np.clip(np.rint((v - blk[:, None]) / white_v * 255), 0, 255)
White sits about 0.7 V above black, that’s my 255. Keep lines 13 to 252 and here’s the 432×240 picture the screen shows!
The capture#
The nav doesn’t always really shut down when you switch the car off, probably to boot faster after a short stop, so I had to pull the keycard, close the car and wait a bit to get a cold boot every time. Then the animation always falls at the same place: streaks around 4.0 s after the first video line, logo drawn at 4.6 s, logo erased from left to right, done at 6.6 s.
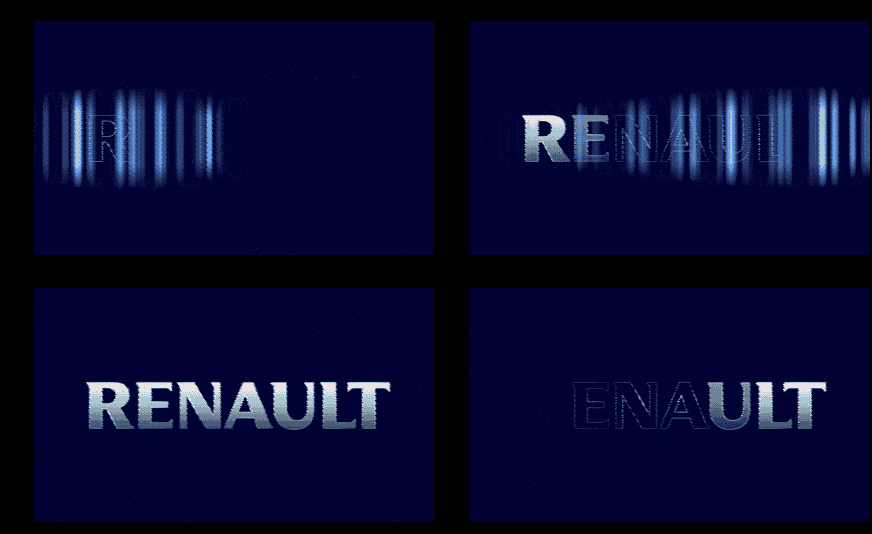
The final animation comes from six bursts at 3.15, 3.8, 4.45, 5.1, 5.75 and 6.4 s. frames.py cuts each burst into frames, and timeline.py gives every frame a time, the rearm offset plus its position in the burst, and sorts them. That almost works. Two boots are never exactly in phase, they drift by 0.1 to 0.2 s, so at one junction the logo went backwards (“ULT” then “NAULT”). The junctions are now aligned on content: cut where the first frame of the next burst looks the most like the last frame of the previous one. When the next boot was ahead and there’s a hole, a few frames from a longer, coarser burst bridge it.
Playing it on the Pi#
When you want to change the boot image on Raspberry Pi OS (or Debian), you usually hook into Plymouth. I tried, but the animation wasn’t smooth: Plymouth’s script themes redraw on a fixed 50 Hz timer, not in sync with the screen, so about one frame in six of my 59.5 fps got dropped. Playing the video with mpv straight on the display was alright, but mpv takes about 3 seconds just to load at boot, for a 4 second animation.
What mpv does for me here is small: put an image on the screen, swap it in the short pause between two screen refreshes (the vblank, or vertical blanking), repeat. So I wrote it in C, linked only to libdrm and libc, a 72 KB binary. The frames are prepared ahead of time as one raw file, so nothing is decoded at boot: the player just reads an image, stretches it to the screen and shows it at the next refresh. And if anything goes wrong, it simply exits and the boot carries on.
[Unit]
DefaultDependencies=no
Wants=nav-ecran.service
Before=lightdm.service

[Service]
Type=oneshot
ExecStartPre=/bin/sh -c 'for i in $(seq 100); do [ -e /run/nav-ecran/linked ] && exit 0; sleep 0.05; done; exit 0'
ExecStart=/usr/local/bin/carminat-splash /usr/share/carminat-splash/carminat.rgb565
CPUSchedulingPolicy=fifo
CPUSchedulingPriority=50
IOSchedulingClass=realtime
Two lines of this unit come from real boots. Without the scheduling lines the player missed 8 of its 231 image swaps, because every other service fights for the CPU and the SD card, with them it skips none (it counts them and logs the number on every boot). And ExecStartPre is there because the Carminat screen doesn’t light up on video alone, it waits for a serial handshake with the nav. My nav emulator writes /run/nav-ecran/linked once the screen answered, and the splash waits for that file.

The screen comes on about 5 seconds after power on, the animation plays, and the car interface starts right after, with no desktop, cursor or boot text in between.
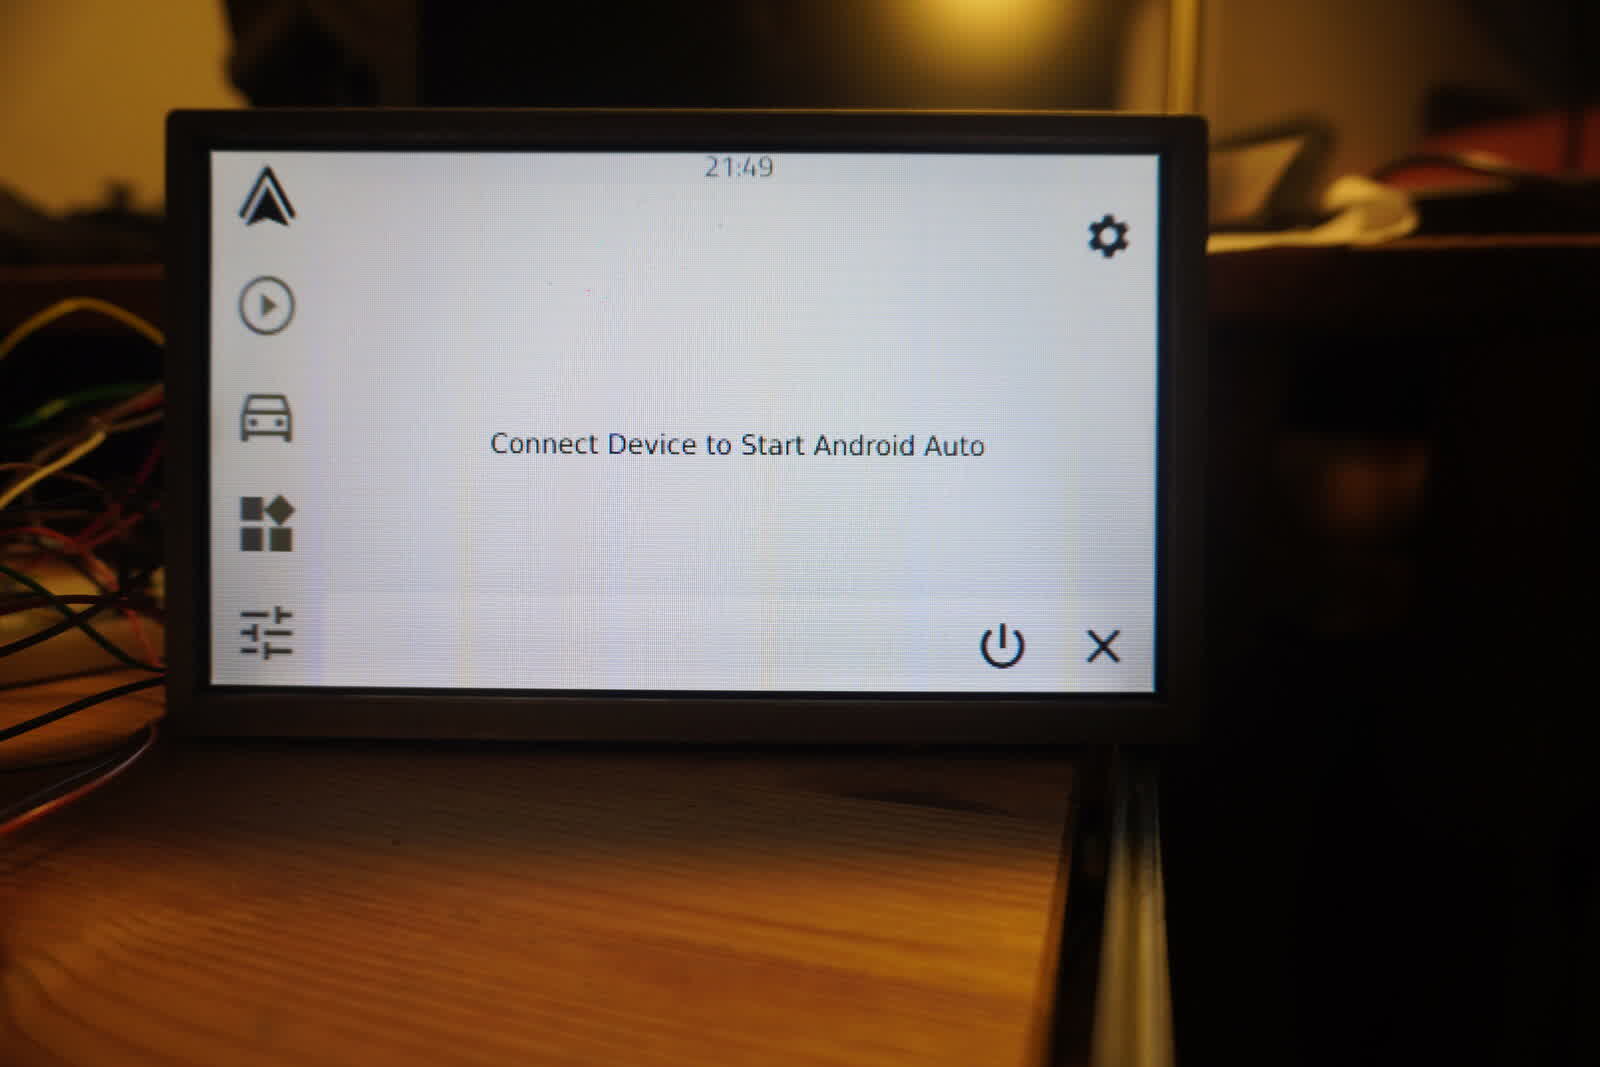
Lesson learned: an oscilloscope with 5M points and a bit of Python can be used as a video capture card, as long as you’re willing to start a car again and again :D. I’ll be sharing all the code once the PCB is up and running! Stay tuned!